
3 Prong to 4 Prong Dryer Cord Change
Step-by-step guide for safely changing your dryer cord from a 3-prong to a 4-prong configuration.
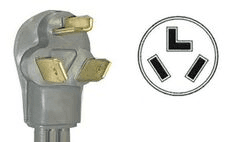
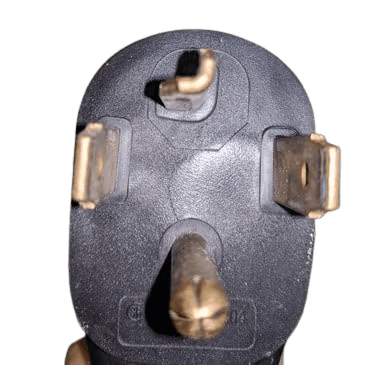
Older homes typically have 3 prong outlets, but the National Electrical Code requires homes built after the year 2000 to have 4 prong outlets. While these same codes prohibit changing a 4 prong to a 3 prong, the Electrical Safety codes allow changing the dryer's cord to match the existing outlet. Almost all manufacturers sell dryers without a cord attached, preferring to let customers choose.
Video Tutorials
How to Change a Dryer Cord
Open the Access Panel
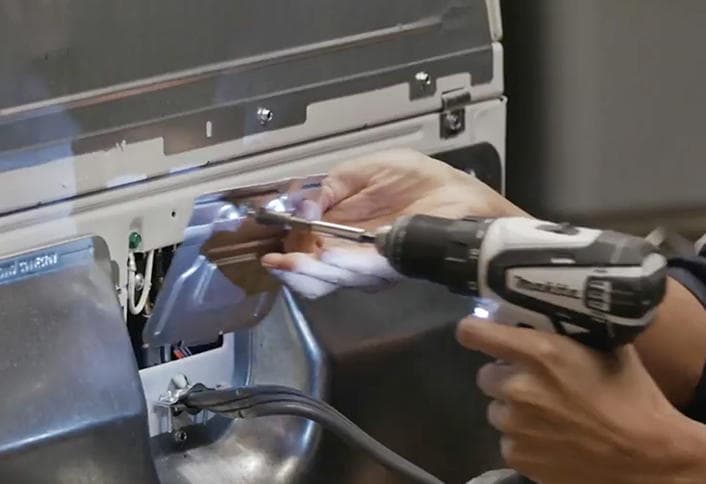
•Unplug the dryer.
•Open the access panel where the cord enters the back of the dryer.
•Use pieces of masking tape to label which colored wire attaches to each terminal. The wires are typically color-coded, with a black wire on one end, a white wire in the middle, and a red wire on the other end.
Remove the Old Cord
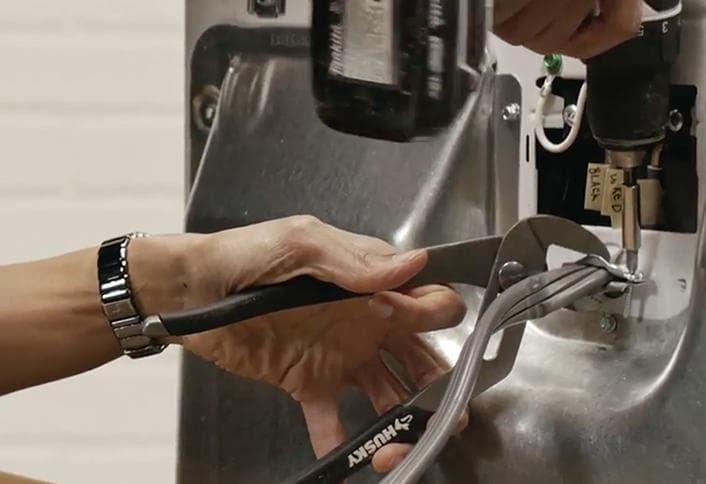
•Loosen the connection screws holding the wires in place.
•Disconnect the ground wire or strap that connects the center terminal to the case.
•Use pliers to hold the strain relief bracket in place while loosening the bracket's screws.
•Remove the old cord.
Attach the New Cord
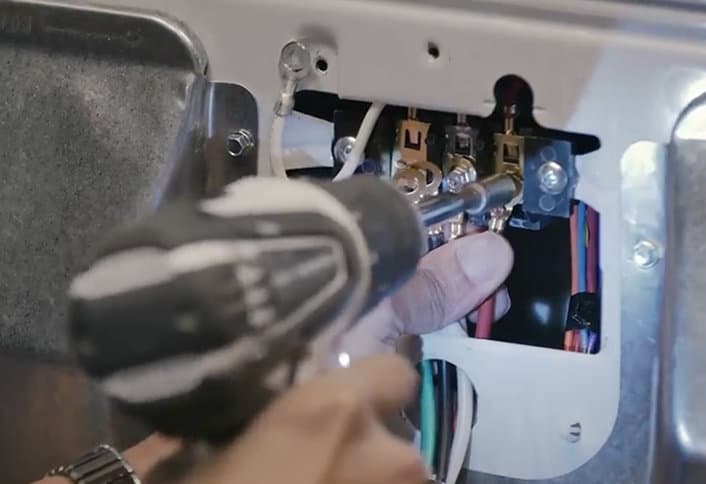
Tip: When replacement cord wires are color-coded, simply match the colors of the new cord's wires to those on the terminal block.
3-prong cord
•Attach the middle or ground wire to the center terminal, one of the outer wires to the right terminal, and the other outer wire to the left terminal.
•Attach the ground strap or wire that runs from the center terminal to the dryer case.
4-prong cord
•Attach the white wire to the center terminal, the red wire to the right terminal with the red wire installed, and the black wire to the left terminal with the black wire installed.
•Attach the green wire to the green grounding screw or dryer case.
•Remove the masking tape labels.
Replace the Access Panel
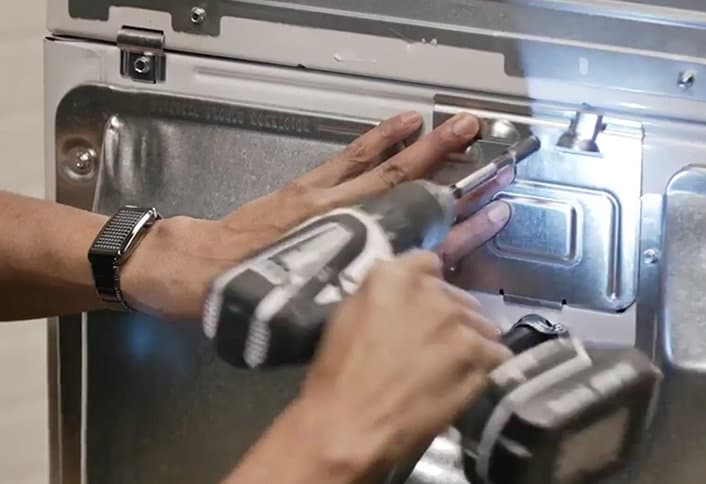
•Fit the strain relief bracket into the cord access hole and evenly tighten both bracket screws firmly onto the cord. This is important as the bracket protects the connections and helps avoid a possible short if the cord is yanked.
•Replace the access panel on the back of the dryer.
Test the Dryer
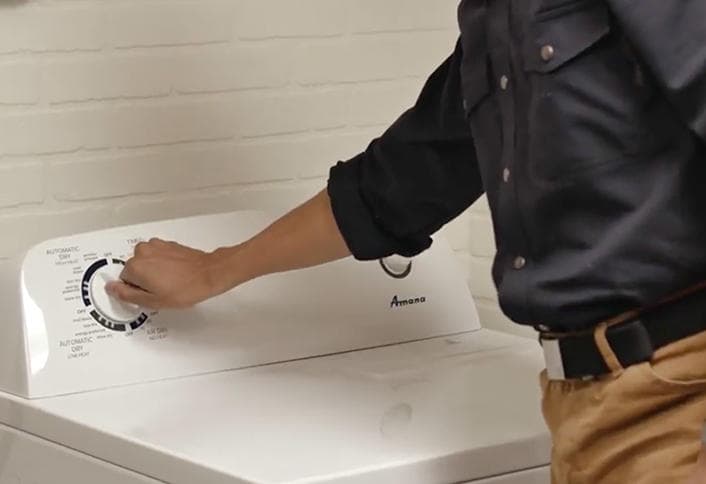
•Double check that the power to the dryer outlet is turned off.
•Plug the dryer into the outlet.
•Turn on the power to the outlet and test your dryer.